|
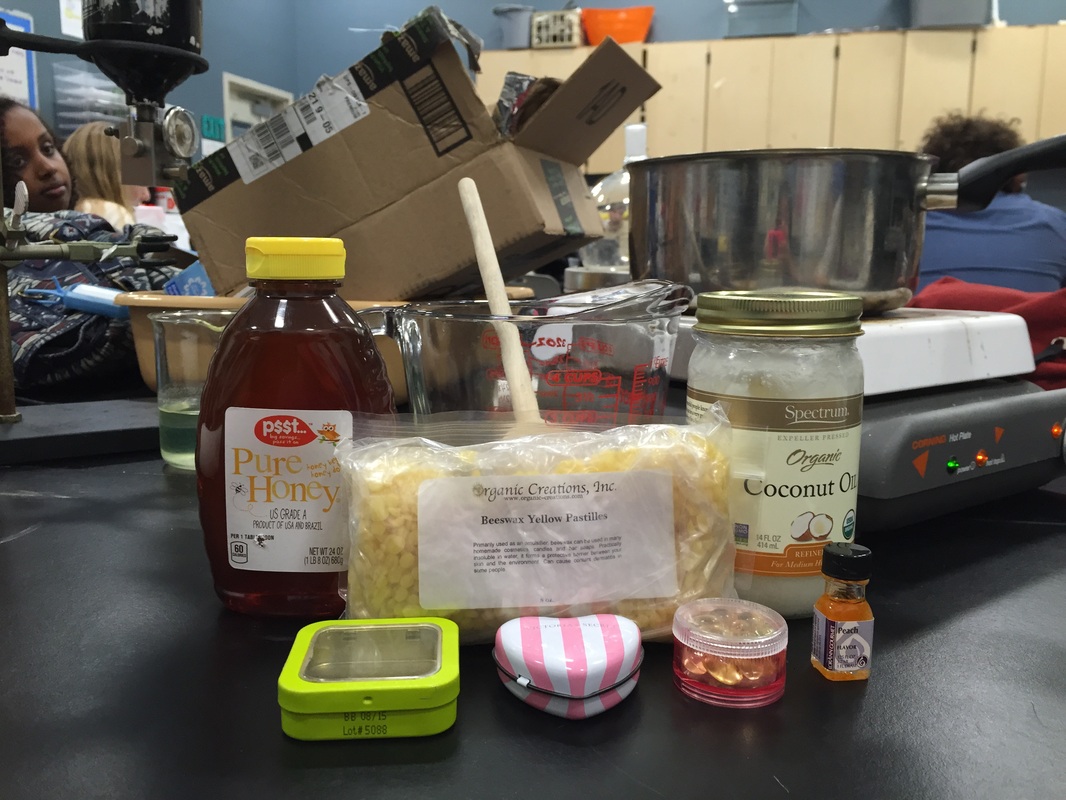
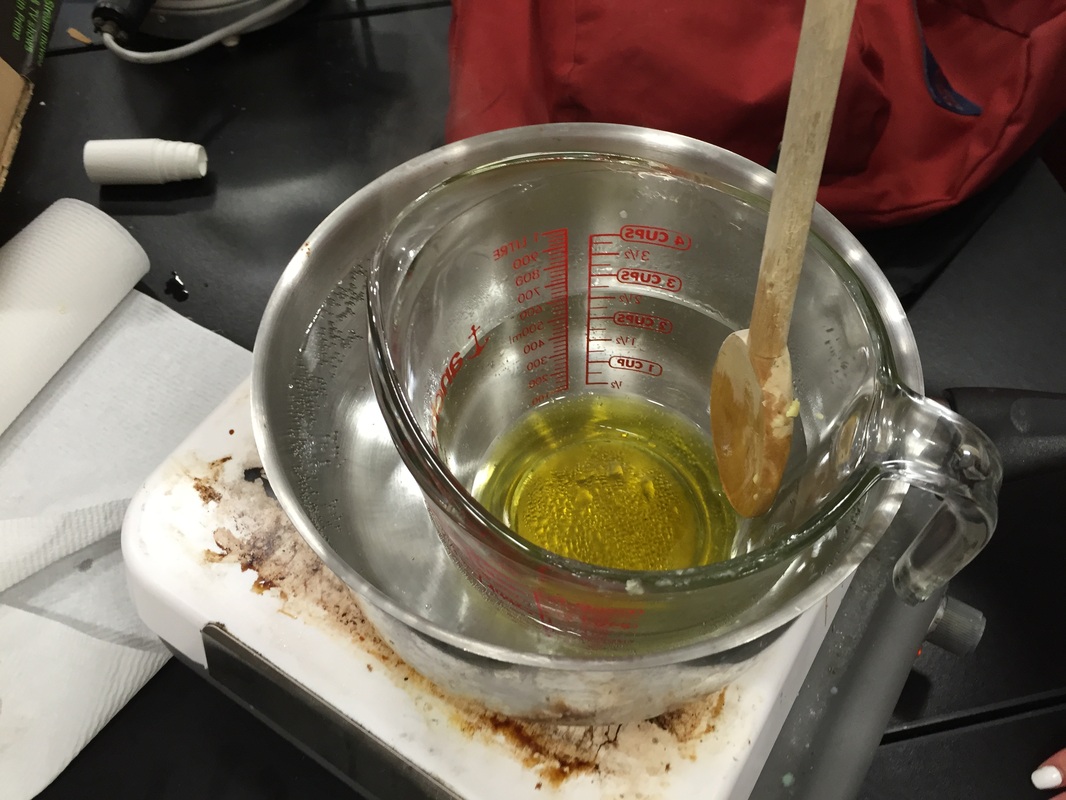
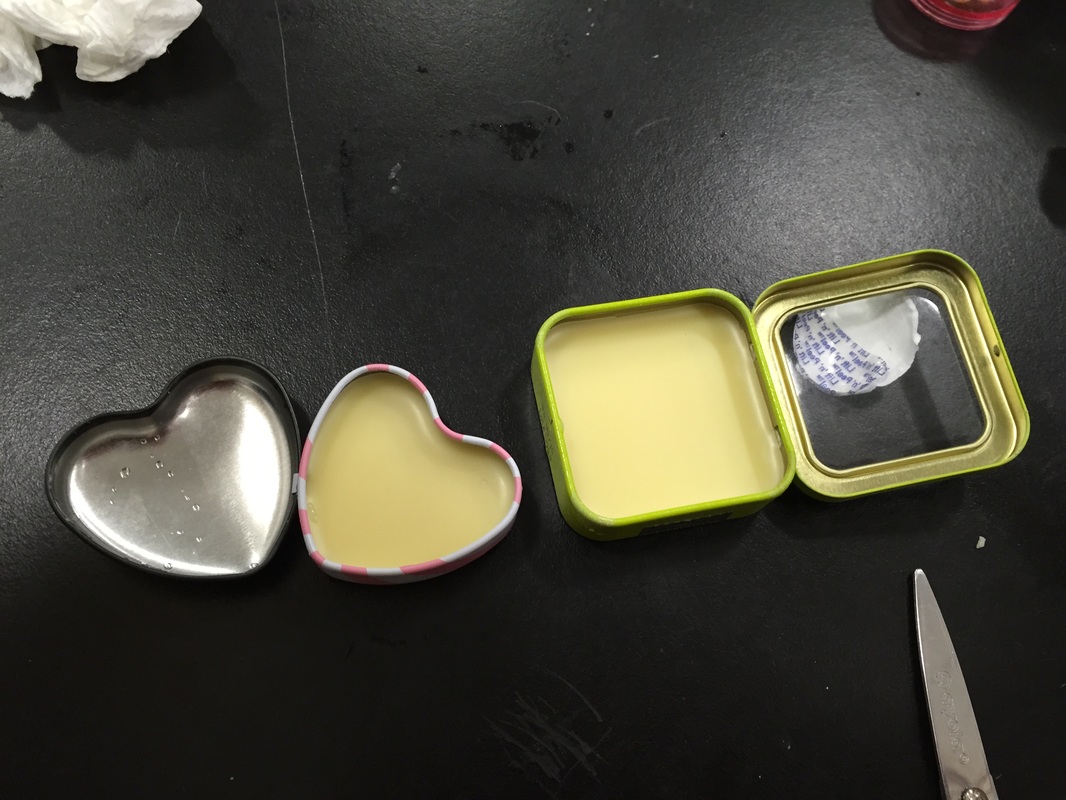
Looking Back: I really liked the way my bouncy ball turned out, even though it kind of died after a couple of hours. Mine bounced, but it didn’t bounce as high as I expected it to. It was somewhat lame, but it was amusing to me. Making the balls didn’t live up to my expectations either. It was really rushed because I had partners who did a lab beforehand and they didn’t leave enough time for our lab. It also didn’t form correctly because there were little cracks and it began to split in half while it was drying. This was probably due to the fact that I didn’t form it into a ball right away because I was cleaning. The glue dried faster than normal, making my ball look like a hot mess when I added the food coloring. Looking Beyond: This activity demonstrates an interesting chemical reaction, primarily between the borax and the glue. The borax acts as a “cross-linker” to the polymer molecules in the glue. Borax basically it creates chains of molecules that stay together when you pick them up. The cornstarch helps to bind the molecules together so that they hold their shape better. Looking Inward: I thought my bouncy ball was extremely amusing to be honest. It was bouncy and I didn’t really expect it to go really high like the rubber ones you can get for 50 cents. I expected it to at least bounce up half away from where I dropped it. It bounced like a foot back up and died. The process was really quick and simple. I was kind of hoping it would be more exciting and fun. Just like the chapstick, it wasn’t action packed, but what could I expect? I was making bouncy balls… Looking Outward: I worked with Ivy, Erika, and Daisy on the bouncy ball lab. We didn’t really work on the lab together because we did them all on different days. There was miscommunication on when to bring the items and we just did the lab when it suited our schedule. It wasn’t hard to make them by yourself, but I wish we had done it together and used different measurements so we could figure out how to get the maximum bounciness. Looking Forward: For better results, I would’ve put more borax to make it bounce higher. I saw that if you put too much glue, it would stick to the gloves and wouldn’t shape as easy. If you put too much water, it would just be a soggy mess of a wannabe ball. It would take forever for the both of them to be dry enough to bounce. If I could do this lab over again, I would do it by myself because I wouldn’t have to wait for people to do other labs and then our lab. It was simple to do and the ingredients were not hard to find. Takeaways: One thing I took away was that it’s not worth it to make your own bouncy ball. They end up drying up and just being a hazard to your pets. I had to throw mine out because I was scared my dog was going to mistake it for a treat and eat it. Borax is a dangerous material if ingested. 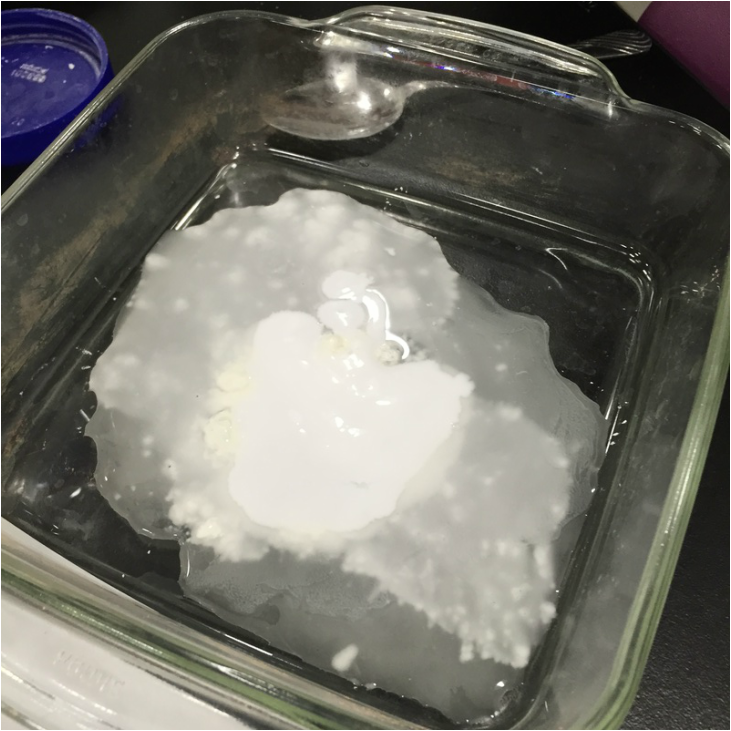 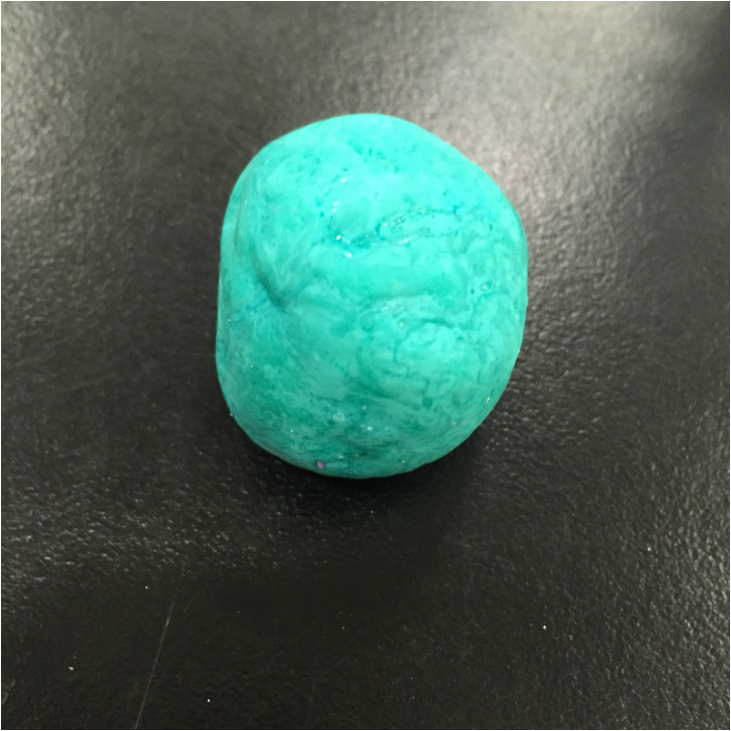 Magic Sand is basically regular sand with coated in a hydrophobic substance, which keeps the sand dry. Hydrophobic substances repel water, whereas hydrophilic substances absorbs water. Looking Back: Our sand turned out pretty well I think! When we put it in water, it came out dry as if the sand didn’t touch water at all. It was it was actually kind of cool when the sand would float on top of the water and you stuck your finger in the middle and it would come out dry. When we were playing with the magic sand, our group ended up putting too much water and it kind of got diluted (?). The sand ended up not working after that and it turned back into regular sand. Some of the grains just floated to the bottom and was wet when it came back up. The method wasn’t exactly perfect, even though we used about 7 layers of the hydrophobic substances. Looking Beyond: During this lab, we learned the properties of substances that are hydrophobic and hydrophilic. Hydrophobic substances do not mix with water. The term “water-fearing” is often used to describe the word hydrophobic. Hydrophilic substances, on the other hand, are “water-loving.” For example, oil and water don’t mix because it’s hydrophobic. Since oil is hydrophobic, the oil did not mix with the food coloring or the water. Magic sand is regular sand that has been coated with an oil-like substance that is water-hating or hydrophobic. The surface of sand grains is made wet by water, which means that water molecules are attracted to sand grains and makes it hydrophilic. Looking Inward: I liked the way it worked out. It wasn’t very hard to do though because Andrew just sprayed a hydrophobic substance on the sand, we mixed them together and put it in water. I thought it was kind of boring to make it because only one person was mixing it together. I wish we had less people in a group instead of six or seven. There wasn’t a lot to do for everybody in the group. Looking Outward: I worked with Erika, Ivy, Daisy, Morgan, and Maia on this lab. I thought our group worked pretty well with each other. We’re friends outside of class, so there wasn’t any tension or disagreements. I’m pretty sure the only disagreement was what sand color to pick. I don’t usually talk to Maia, but she’s really sweet and just rolled with what we did with the sand. Looking Forward: For better results, I wish we got real sand from the beach instead of hermit crab stand. The Hermit crab sand didn’t really have the same effect as we should have gotten because it’s artificial. I would’ve liked to know how different the results would be; hermit crab sand vs. real sand. If I were to do this project over again, I would stick to one color because the green and pink sand mixed looked like barf and it wasn’t aesthetically pleasing. Also, I would like to be put into smaller groups (possibly individually?). It was just lame sitting around while some stirred the whole time while we made the sand. Takeaways: A takeaway I had was that it’s really hard to make your own magic sand. It took about 7 coats of the hydrophobic substance to cover almost ever grain of sand. Some of the grains didn’t even have the substance on it and it because wet. 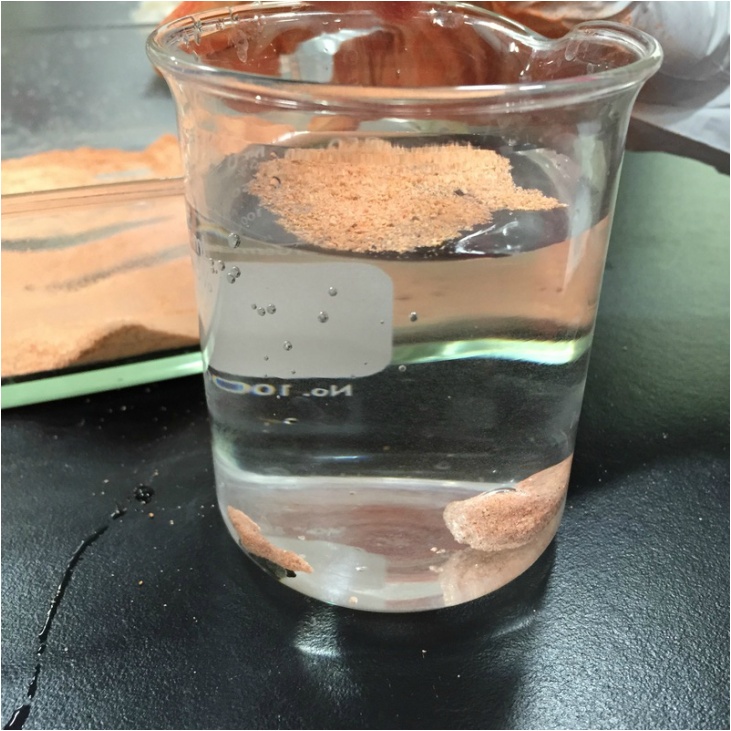 Daisy, Erika, Ivy and I made lip balm in class today. It was quite a long process because a ton of beeswax apparently takes forever to melt into a liquid. Usually, beeswax has a somewhat low melting point, but it takes a while when you have a large amount. This experiment shows phase changes from a solid to a liquid and then back to a solid. The temperature from the hot plate and the room are drastically different, so you can change it.
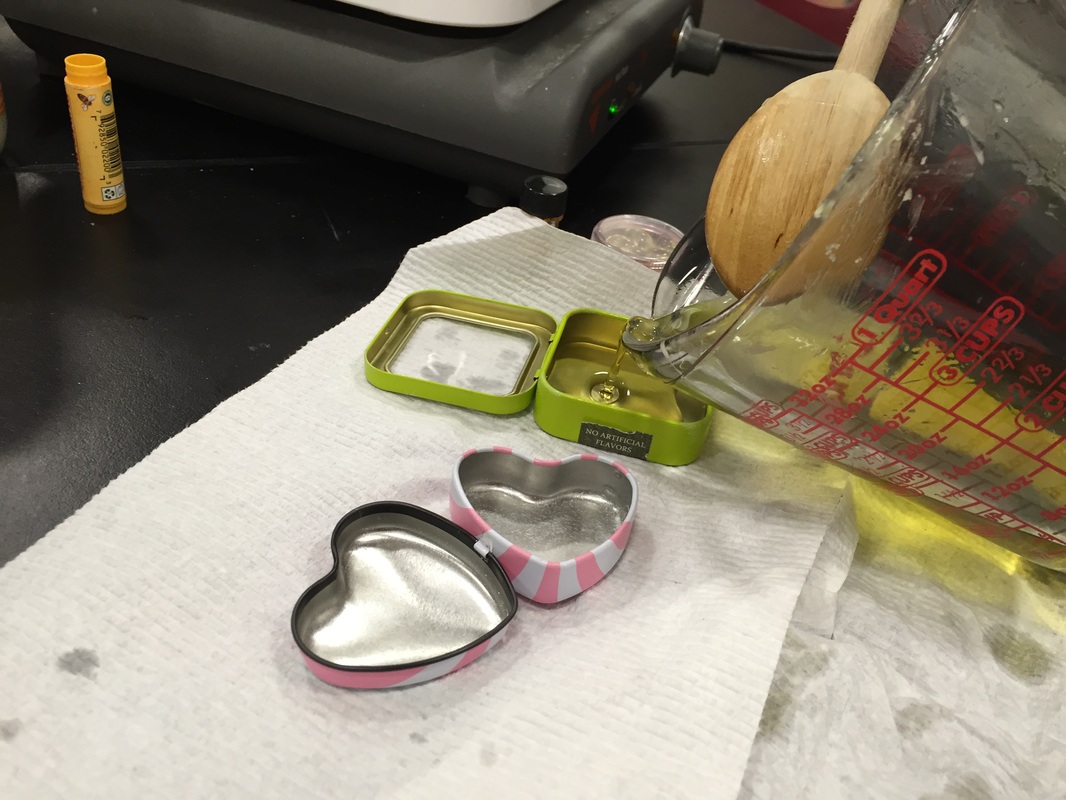
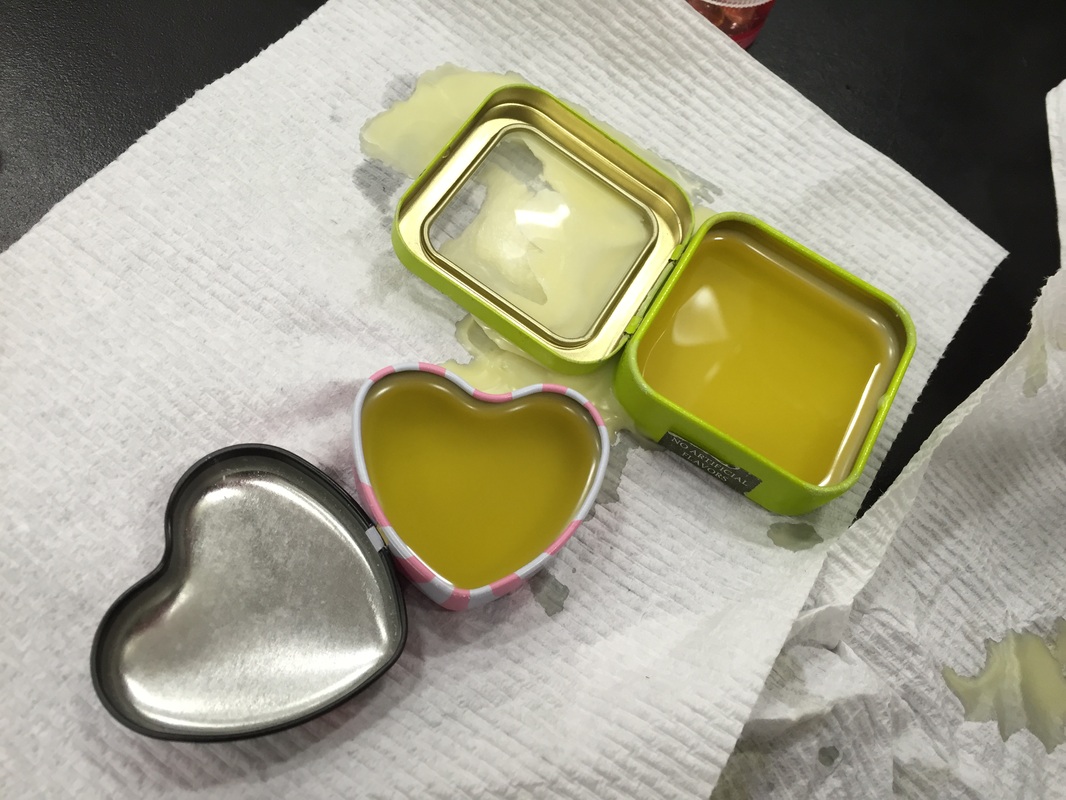
Looking Back: The lip balm turned out alright. It wasn't the best lip balm, but it was a really good first try. The lip balm smelled really good, but it was REALLY waxy. We didn't have any way to measure the beeswax, so we just kind of guessed. It took a really long time to melt the beeswax, so I'm pretty sure we used too much. We put peach flavoring into the mix to make it smell/taste good. I'm pretty sure we didn't use enough, but it was better than doing too much. If we did too much, it was be way too strong. Our lip balm has a faint peach flavor and you need to put a lot of lip balm on to really taste it. The wax was really hot, so it was hard to pour it into the tubed without burning someone's fingers. The wax dried really quickly; only taking about 1-2 minutes to dry. It was drying up when we we pouring, so we had to keep it in the boiling water for it to heat in between pouring into different tubes. It wasn't as hard as I assumed it was gonna be because we just mixed ingredients and waited for it to melt and dry. Looking Beyond: This lab kind of refreshed phase changes and how something can go from a solid to a liquid or a liquid to a solid, depending on the temperature. Because of the temperature change, our extremely hot mixture changed into a waxy solid in just a few minutes. Just like the candles, if we put the temperature too high, it would overheat the wax and burn the coconut oil, messing everything up. Looking Inward: I kind of liked the way my chapstick worked out. It wasn't as glossy or soft as I hoped it would be, but it smelled and tasted really good. The whole process was just really slow and boring because it was just melting, mixing, and waiting for it to dry. It wasn't as action packed as the rockets or the bath bombs. It wasn't really hands on as I hoped. Looking Outward: I worked Erika, Ivy, and Daisy on this lab. I thought our group worked pretty well. We're friends outside of class, so there weren't any fights or disagreements. I really wish we were in a smaller group because there wasn't really anything to do for more than two people. There was just a lot of waiting around and it was just kinda boring if you weren't doing anything. Looking Forward: For better results, I would've put more flavoring. I remember Andrew telling us it was really strong and to put a little. We put about three drops in when we had a lot of melted wax. It was a really insufficient amount of flavoring. If I could do this lab over again, I would probably try a different flavor and put a ton more. Like I said before, we didn't use as much flavoring. Also, I would work with less people because there were a lot of down time if you weren't doing anything. Takeaways: One thing I learned was that beeswax is very expensive for such a little amount. Janessa warned us to let her know how much we were using because it costs a lot and it came out of her pocket. I personally didn't know that it was expensive and it didn't know what it actually looked. This was Morgan and I's third rocket, Rocket Around The Christmas Tree 3.0. It was a model rocket that was given to us by Andrew. We had to figure out how to put it together (the stickers mainly being the hardest part) and attach a motor given just before the launch.
Rocket Around The Christmas Tree 3.0, worked out amazingly. When we were launching, the wind on Fiesta Island was really strong, making us possibly not launch. We were going to test one of the smaller rockets from Brian's class, but they weren't as prepared as we were. We volunteered to go first, since I had to get picked up soon. It was really windy and I wasn't sure how it was going to work out. I was praying that it wouldn't hit someone's car or someone. Once it took off, it went straight up and started to just free fall. I got a little freaked out because JP showed us how to wrap the parachute and I was afraid it might have gotten tangled. The parachute ended coming out and our rocket was one of the only to be recovered. Most of the rockets drifted beyond the sand dunes to who-knows-where. It was hard to recover it because we mainly just guessed where it ended up. The orange parachute was a dead give away that it was our rocket because nothing else in the plain sand was orange. If I were to do this again, I would do it on a day where it wasn't windy at all. I was a bother to find the rocket because it was extremely far away from the launch site. Our rocket didn't go as far right as the other rockets did and went more in front. I was happy to recover it in plants and not on top of someone's car or in the middle of the road. One thing I learned from the rockets was how to properly fold a parachute the way professionals do it. JP showed us how to fold it and it was kind of a mess for a little plastic parachute. I'm pretty sure it would look neater if it was a normal parachute and made out of something that would stay instead of unfolding. It was a pretty good takeaway because Chase and Liam ended up not knowing how to fold heir parachute and I got to help them. It's was confusing how to fold it at first, but it was easy enough. |
Archives
May 2015
CarminaHi! This is my chemistry blog for the second semester of the 10th grade. Categories |
 RSS Feed
